
Production & Accounting Paperwork in Film & TV

It is vital for every crew member to be familiar with Production paperwork.
Crew that buys or rents items on a job, can shorten their learning curve by understanding Accounting paperwork. Get your vendors paid!
Every, and I mean, every crew member should be familiar with Production paperwork. From PAs to coordinators and anyone in between, this post is for you.
Accounting paperwork will be more geared to any crew members that are responsible for paying vendors and who have been given a Petty Cash float or a Pcard. We want to take care of our vendors because they take care of us.
If you’ve been following along so far, thank you! This post fits within a series of how to get into the film industry and get quick, but efficient training on how to be a PA. Be sure to check out How to Get Hired, How to be a Set PA, and How to be an Office PA.
What if you could take this information with you on the job? Flip through it when you need some help and everyone is slammed. Film is a fast paced industry. By being a proactive, independent crew member, you help your department run efficiently and add incredible value to the production. Become indispensable. That’s how you standout and get calls for shows you’d be psyched to work on. You’ll be there for more than the paycheck. If you’re ready to take your passions to the next level, download my eBook (click HERE).
Let me be clear. This is higher-level knowledge than what is covered in my PA Survival Guide (which is a fantastic FREE resource). There will be some duplication, but it’s only to reinforce the foundation for more advanced knowledge. With this resource, you’ll have step-by-step instructions, learn from example, download templates, and know the trip wires for common mistakes. I’ve trained PAs for 8 years, trust me, I wish I had this when I was being trained and I’ll use it for my future trainings of PAs and crew. My intention is to sincerely meet a desperate need in the film industry to provide fast, but thorough training. OK let’s dive in!
There are 2 branches in Accounting: AP and Payroll. AP Accounting handles paying vendors via check requests and PO’s. They also reimburse crew’s PC or Pcards. Payroll handles paying the cast and crew. Turn in timecards, box rentals, and mileage forms into Payroll. During this video, if I just say Accounting, I’m referring to AP.
Keep in mind I’ll be showing you examples of each type of paperwork. Each show and studio will have slight variations.
Every single piece of accounting and payroll paperwork you turn in needs to have a department approval signature. This could be the department head or someone who is managing the budget for the department. Check with your supervisor who will be responsible for signing all the paperwork and who needs copies. For me personally, I like a copy and scan of everything. In wrap, I usually have to turn over all my hard copies. More studios are becoming more digital and having scans are helpful to upload. I also like to be able to refer back to see where we bought something. There have been times where I’ve spent days looking for an item, you bet I keep that vendor in my back pocket for future finds.
Always use black or dark blue pens to fill out anything for accounting or payroll.
Paperclip everything with a smooth, jumbo-sized paperclip. Other paperclips tend to tear the paperwork.
Often I’ll say to list the “Production Company.” This is NOT the studio (ie Netflix, Universal, etc). A Production Company will be established for each show. Check with Accounting or Production on what the Production Company name is.
Production is in charge of distro or distribution. This paperwork includes schedules, script revisions, and the crew list. As revisions are made, the pages will be printed on a different color sheet of paper to reflect it has been updated.

Let’s dive into Production distro.
PRODUCTION DISTRIBUTION
CALL SHEET: A summary of what is filming that day, who is working, and department needs. The front of the call sheet lists the basic show information, general crew call, the scenes filming that day, location information, the cast, department needs, and an advanced schedule of what films the next day. The back of the call sheet lists the crew working that day by position and department by hierarchy. It will also list their call time and any special notes. Lunch will be 6 hours after general crew call.


PRELIM: A preliminary call sheet, printed on yellow paper, to reflect the next day’s call sheet.
ONE LINE SCHEDULE: Also known as the one-liner. This is the shooting schedule of what is filming each day of production. Find the date of filming and look UP to see what is filming that day.

PREP SCHEDULE: During pre-production, a daily prep schedule will be released which will have all the important appointments in a day. It will list meetings, scouts, whenever someone of note is traveling, or starting on the show, rehearsals, fittings, set walk-throughs etc. It’s important to note when the Tech Scout and Production Meetings are scheduled to occur. The Tech Scout is when all heads of department go to each filming location to discuss the day of filming and department needs. The Production Meeting is to iron out any further details before filming starts and ensure departments have met the script’s needs.

DOOD: Day out of Days. There will be a column for cast numbers and cast character names. Their cast number will be listed on call sheets and one liners. Across the top will have the dates. Within the grid it’ll have notations like: S for Start (when they begin on the show), W for Work, F for Finish (meaning they are done on the show), and H for Hold (the actor doesn’t need to come into work, but needs to be available). You may also see I for Idle (similar to hold, but is unpaid), T for Travel, or R for Rehearsal.

PRODUCTION CALENDAR: The calendar for the run of the show. This will show the prep weeks, how many weeks out from filming we are, camera test days, filming days, scouts, production meetings, wrap days, and holidays.

SIDES: Half letter sized sheets of paper that are the script pages filming in a day. Some areas are X’d out as an entire scene may not film the same day. On the upper left hand corner, you’ll typically see listed the name of the show, script date, and script revision color. On the upper right, you’ll see the page number. On either side of the scene headings are the scene numbers. Scene numbers are listed on the call sheet and one liner.

SCRIPT: script for the show. Often there will be script revisions even up to the day of filming. Changes will be notated with an asterisk. If you have a hard copy of the script, be sure to collate it. To collate a script means to take out the old pages and replace them with the updated ones. If you’re collating someone’s script, be sure to carry over any notes. If the revision extends longer than the initial page number, you’ll see letters added to the page number (ie. Pg 1, pg 1a, then pg 2).
WALL CALENDARS: Most department heads will want a wall calendar updated. They are usually poster size prints where each day is large enough to fit a post-it. Check with your boss on their color and annotation preferences. Sometimes they like a color specific to filming on stage vs location, day vs night, or interior vs exterior. Be sure to update it based on the latest prep calendar, one liner, and production calendar. Put a post-it out to the side that specifies the schedule’s color version that is reflected on the calendar. If you’re doing any color-coding, put a color legend at the bottom.

COI: Certificate of Insurance. Production is responsible for issuing COIs to vendors. These are common to issue when renting items from a company.

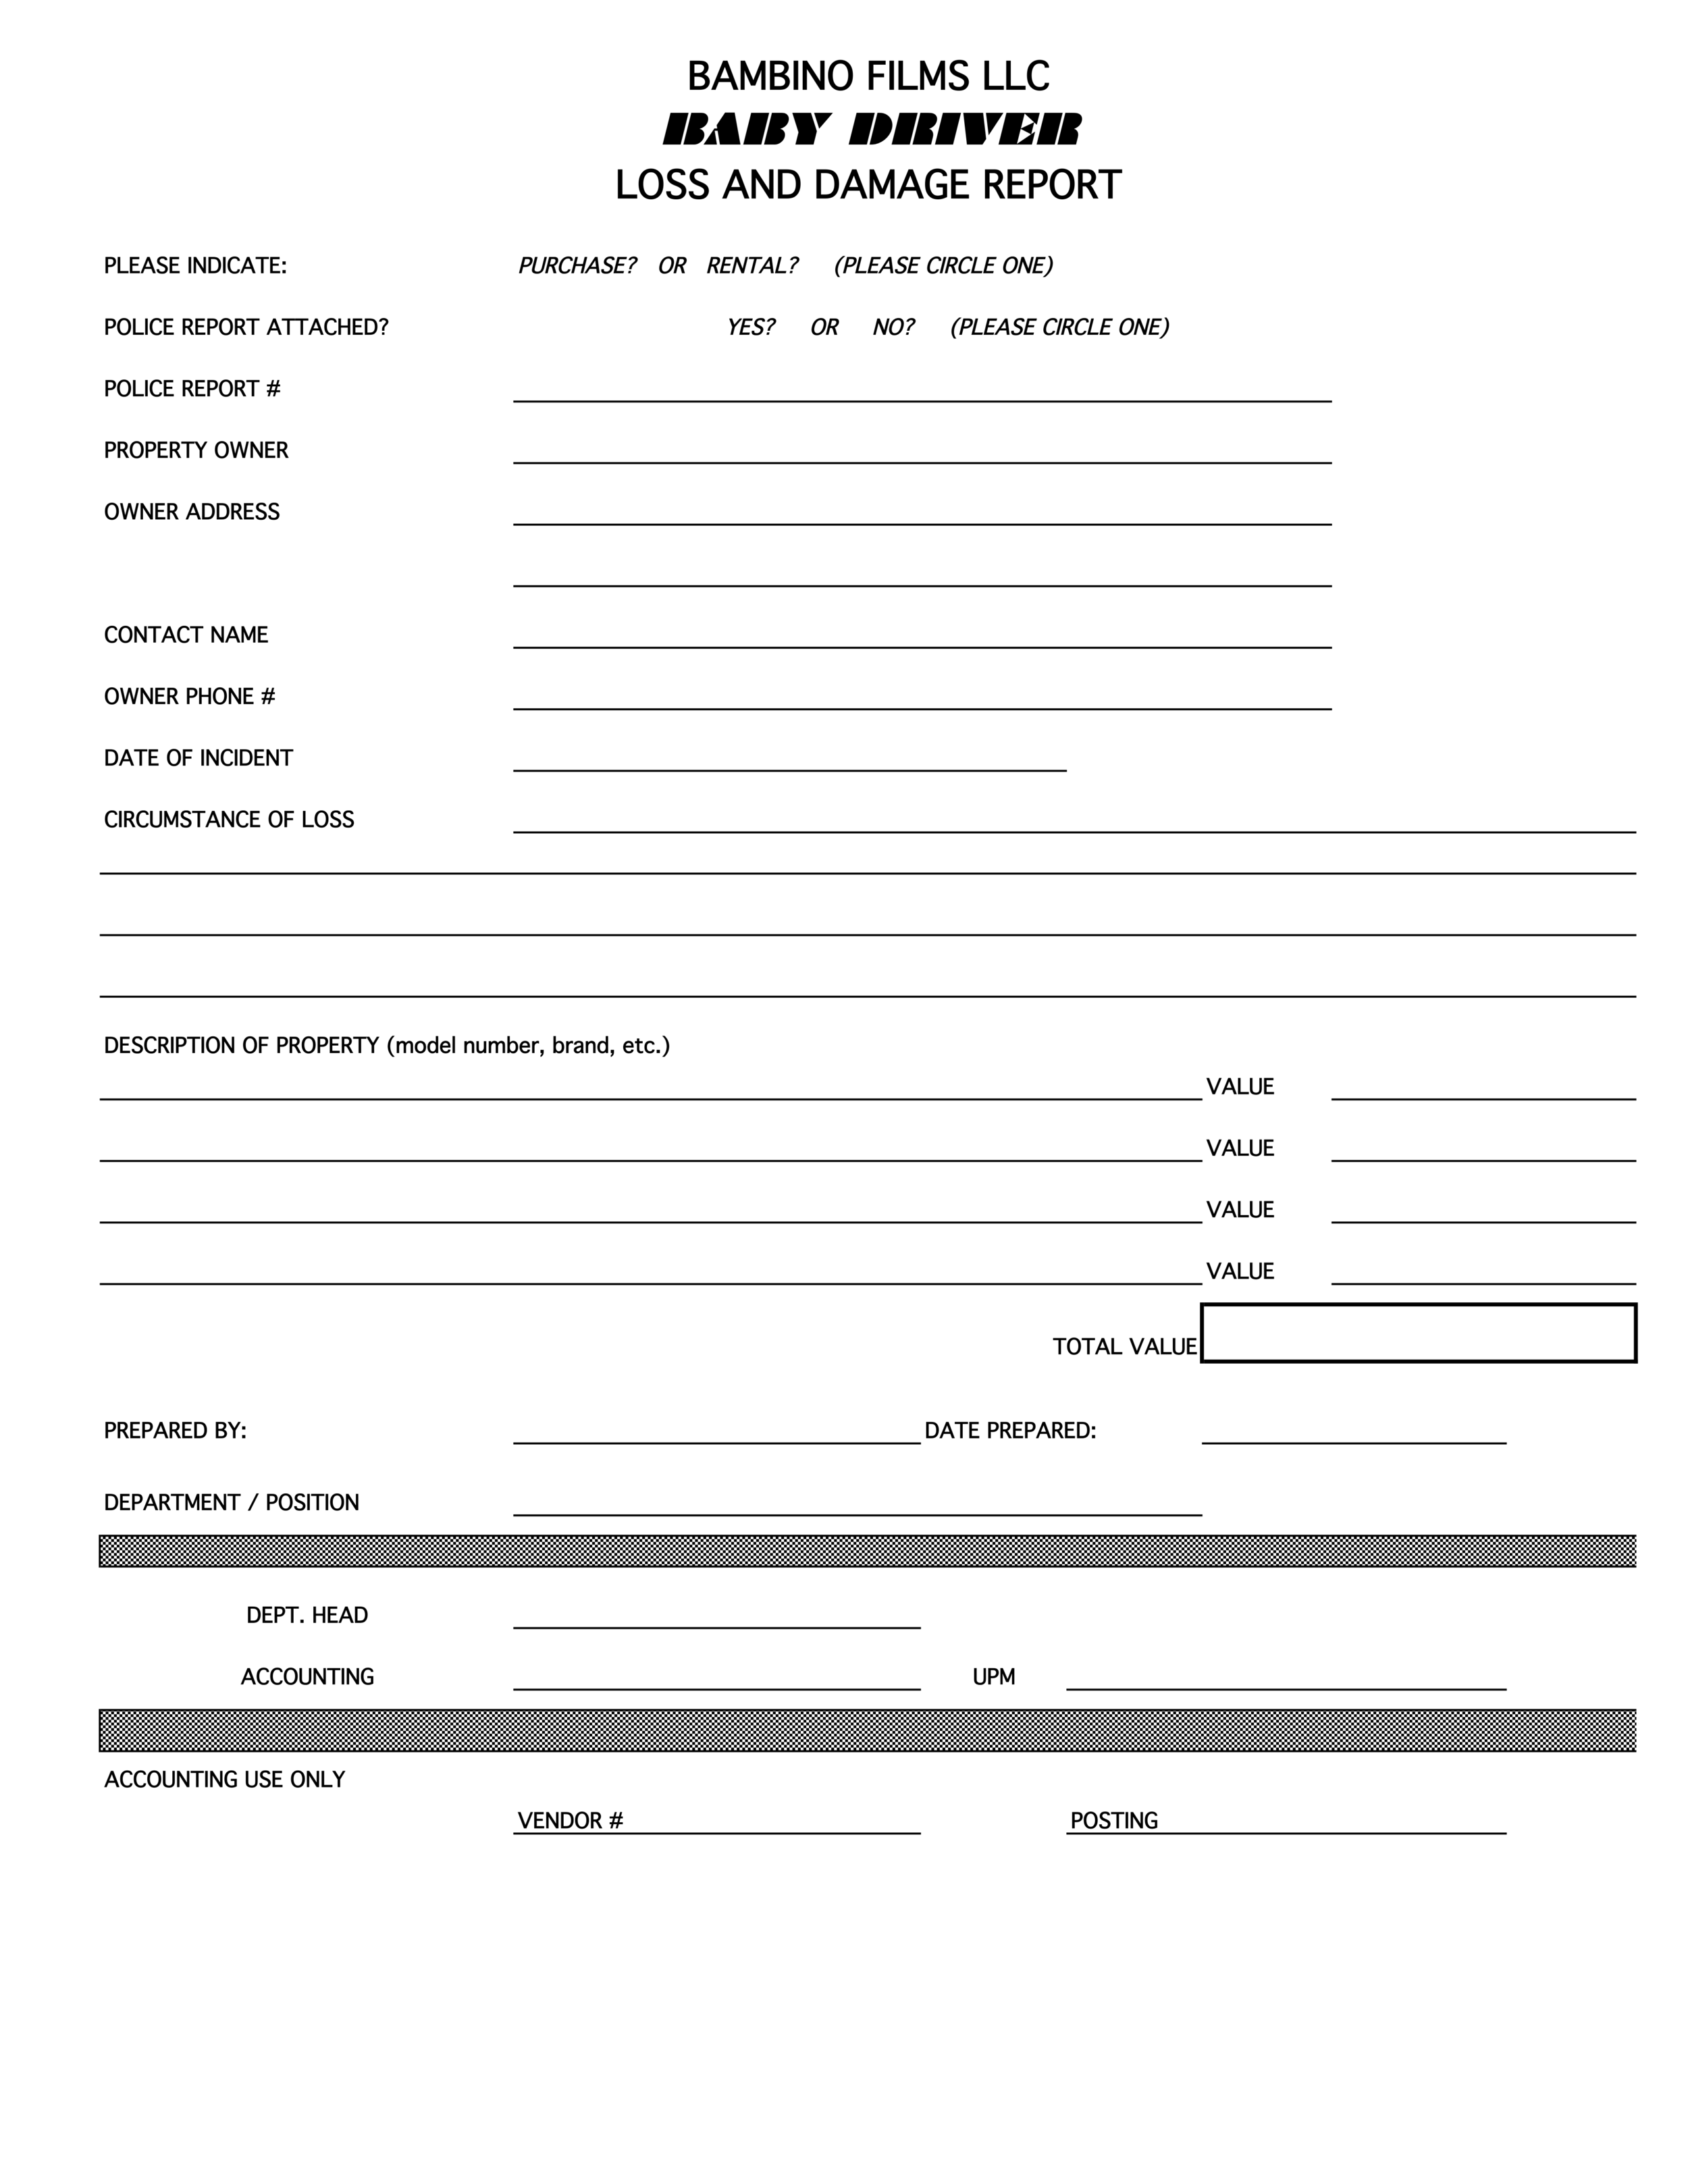
L&D: Lost & Damage. There will definitely be items that get lost or broken on a show. Get the L&D form from Production. Be as detailed on what happened as you can. You may need to track down the original purchase receipt to reflect the value of the loss. If theft is involved and you need to call the police, let Production know. You’ll need to get a copy of the police report.
CREW LIST: Will list all the crew on the show. It will list the person’s position, name, phone, and e-mail. It will be organized by department and hierarchy.
PAYROLL
TIMECARD: Needs to be filled out for all crew and turned in weekly. They typically are turned into Payroll on Friday, or potentially Saturday, if there’s weekend work. You’ll want to list the name of the show, there may be a place to list the production company, your name, the last 4 of your social security number, week ending date (will always be Saturday), work city, work state, union (leave blank if you’re a PA), your position, hours for the week, and sign. If you fill out a mileage form, be sure to attach it to your timecard. If you get a box rental, fill in how much you’re due and attached a weekly invoice.
Time should be listed in military time on timecards. Unless you run into a meal penalty situation, your lunch should be listed 6 hours after you start your day. I’ve provided a handy chart on page 9 in my PA Survival Guide.

In some cases, certain positions are on a flat rate. In place of hours, write in WORKED or IDLE (for unworked days). Check with your boss.

BOX RENTAL: If you‘ve negotiated a box or computer rental as part of your deal, you’ll need to turn in an inventory to Payroll. Check on what information is necessary. Sometimes they need pictures and serial numbers. At the very least, your inventory should list your name, position, items, quantity, description, model, and value.
A typical computer rental is $10/day and maxes out at $500 for the run of the show. For a typical 5-day workweek, you’ll get paid $50. If you work a 6th day, your total for the week will be $60. Don’t forget to do the math if the workweek is longer or shorter than 5 days. You do not get paid a kit rental on a holiday.
Payroll typically requires you to turn in a weekly box invoice with your timecard. Payroll will supply this form. Usually you’ll need to list the name of the show, production company, your name, last 4 of your social, how much you’re due that week, the week ending date, you and your boss’s signature.

MILEAGE: PAs typically use mileage forms. Most Union positions are able to turn in gas receipts for reimbursement. For gas receipts make sure they list the price per gallon. On the receipt page, list the car make, model, license plate, and driver’s name. Check with your boss or Payroll if you’re unsure how to be reimbursed for miles put on your car for runs the workweek.
Mileage forms need to be turned in weekly with your timecard. The forms are available in Payroll. The typical information needed to be filled out is your name, week ending, name of the show, Production Company, dates of the runs, to/from destinations, reason for the run, and miles. Total up your runs for the week and multiply it by the $ amount per mile (check with your boss or payroll for this mileage rate). Multiply your miles by the mileage rate to get your total reimbursement. You and your supervisor should both sign before it’s turned in.

AP ACCOUNTING
PC: Petty Cash is the cash float lent to you to pay for items for the show. If your position needs buying power, be sure to fill out a PC request form, fill it out, and get it turned in ASAP. The start of show is hectic for everyone and your department is going to need you to have buying power.
Keep ALL your receipts for every purchase and return. Fill out a PC envelope every week or whenever you’ve spent half of your float. Accounting typically needs 48 hours to reimburse your float amount. Receipts should always include the vendor name, address, date of purchase, description of what was purchased, and total. This can be a bit problematic for restaurants that just give you a ticker tape receipt with totals. Ask if they can give you a more detailed receipt. If they can’t, get a menu or print one off. Get a business card if the business name and address don’t appear on the receipt.
For gas receipts, make sure it lists the price per gallon. On the receipt page list the car make, model, license plate, and driver’s name.
When filling out a PC envelope, you’ll typically need to list your name, position, department, name of the show, date you’re turning in the envelope, total, and signature. Within the grid, you’ll list your receipts from oldest to newest. For each receipt you’ll list the date, vendor, what you purchased, and amount. Some departments need to list coding, especially if you’re buying for a specific set. Check with your boss.
Make sure your supervisor signs the envelope before it gets turned in. Someone in your department may be responsible for tracking the budget. It will usually be a head of department, supervisor, or coordinator. Ask who needs a copy before turning it into accounting.
Receipts go inside the envelope, do not seal it. When taping down receipts, do not tape over any font as it will cause it to fade. Do not highlight anything. I find it helpful to underline the date and circle the total. At the top of each receipt be sure to notate the number of the receipt as it corresponds with the top sheet. If the receipt is longer than the sheet of paper check with accounting on what their preference is. They’ll either want it folded or cut diagonally. If you cut it diagonally, put the pieces side by side and continue onto the next page if necessary.
Most Accounting departments are OK with you using the blank backside of paper that’s due to be recycled. Make sure there’s no department sensitive information on it or old distro that has your watermark. Any old distro should be shredded. There are shred bins in the Production Office.
For lunch receipts, on the receipt page, be sure to list the names of everyone who ate. Check with Accounting on what the allotment is for per person for a meal and allowed tip amount. If you’re buying lunch for other people and they go over the meal amount, they owe you that money. Be responsible and keep people accountable. On the PC envelope, when listing the description for a lunch receipt, I typically list “Lunch x however many people ate.” You’ll want to make sure you stay within the allowed limits.
When you’re ready to close out your PC for the show, be sure to convert your coins to bills. Accounting doesn’t want a bunch of change.

PCARD: In addition or in place of a cash float, you may be granted permission to have a Pcard which is a credit card lent to you for the show. Like PC, you’ll have to fill out a request form. Credit cards usually take longer to come in, so get the request turned in ASAP. Be sure to get the billing address and phone number from Accounting. Often it will be different than the Production Office address.
PAYING VENDORS. Typically you only use PC or Pcards when you’re at stores that are chains. All rentals should be paid with a check. Ask accounting what are their protocols. Sometimes you need to get prior approval on a big purchase. Larger purchases should be paid with a check.
If it’s your first purchase with that vendor, you’ll need a W9 from them to turn in with the check request. Always get an invoice. An invoice should list the company name, address, phone number, transaction date, items being purchased or rented, price per item, and total. If it’s a rental, the rental dates need to be listed. Billing information should be the show name, Production Company, and address.
Some vendors will allow you set up an account. Typically setting up an account means accounting has 30 days to pay a vendor. Also known as a net 30 account. Per transaction you’ll supply a PO# to the vendor and they will send a statement to accounting at the end of the month. Accounting will make sure the POs match the statement and cut a check.
Ask the vendor what information they need to set up an account. You’ll also need to get a W9 to give to accounting. Sometimes they will have a pack of forms that accounting will fill out. Be sure to make it easy for them. Have a contact ready of whom they should send it to. If they are a film friendly vendor they may ask for the credit one sheet or top sheet. Accounting will supply this form and send it over. It typically has all the bank information and references.
Some vendors, especially mom and pop type businesses, cannot wait 30 days for payment. If that’s the case, you’ll fill out a check request for a faster turnaround. Accounting typically needs at least 24 hours to turn around a check.
CHECK REQUEST: Also known as a check req. List the date, your name as who is requesting it, your department, vendor name, description of items, coding, and total. If it’s a rental, be sure to list the rentals dates. If it’s the first time paying a vendor list the address, contact, phone #, and Social Security # or Federal ID. However, most accounting departments are OK if you just list the vendor name. Check with AP accounting.
Accounting needs at least 24 hours to turn around a check. Be sure to keep your vendor posted on the timeline of payment. See if they need to have it delivered or if mail is OK.
On the check request, be specific about when you need a check. Do not write ASAP. Find out when the item is being picked up or delivered. You may need to coordinate handing the check off to a driver or send a runner to an office to deliver the check. Ask your vendor on what their preference is for receiving payment. Some vendors are flexible on waiting on a check for a short period of time after delivering goods or services. While others need it before hand. The last thing you want is crew driving to pick up goods when they can’t until they have a check in hand. That will waste everyone’s time and hurt the efficiency of the department.

PO: Purchase Order. List the date, check if it’s a purchase, rental, or service. Be sure to supply the vendor with the PO #. Get a quote or invoice from the vendor. On the PO fill out the name of the vendor, requested by, department, date you’re turning in the PO, rental dates (if necessary), description, coding, and total. Some accounting departments will require you to list specific details, like the quantity for each item, unit price, subtotal, tax, shipping (if applicable), and grand total. Most accounting departments are OK with a general list description. For example, staples, paperclips, paper.

ASSETS: Studios will have a price mark on what an asset is. During wrap, departments are responsible for creating an inventory of where all the assets are located. Sometimes accounting will want you to separate out an asset. Be sure to include tax. Be very specific with your asset description. As an example, instead of listing “couch,” specify it’s a “brown leather couch.” That way, crew will be able to better identify items in wrap.
Be courteous.
We all get into binds. There’s always going to be a change of circumstances that no one could have predicted or a sudden difficult request from a boss. If you’re going to need help or fast action from another department, give them as much of a heads up as possible. They will really appreciate knowing what’s coming down the pipeline so they can adjust and be able to deliver in a crunch. If you come in rushing, as you need something, it puts everyone in a difficult position. They may have priorities of their own and may not be able to shift tasks right away. Remember to be polite. People are more likely to support you if you treat people with respect.
That’s a wrap!
Thank you for reading! I know this is a lot to digest, so be sure to download my eBook (click HERE). I’m still coming up with the title, if you have some suggestions; feel free to send me a message. I love hearing from you all.
It takes a village to make a movie, so let’s get more empowered on how we can work together. We all work hard, so let’s make it a little easier on ourselves so we can really enjoy filmmaking. Thanks!